|
Welcome
to our Mailbox Control Panel FAQ
To access the
control panel, in the browser of your choice, type
http://yourdomainname.com:911
Then you will be prompted for your web accounts username and
password.
If after
successfully entering your username and password the page reports it
is unable to initialize the database or some other error, then email
or phone tech support so we can rebuild the database on your server
and provide you with access. NT accounts should use the convention:
http://mail.yourdomainname.com:911
After you
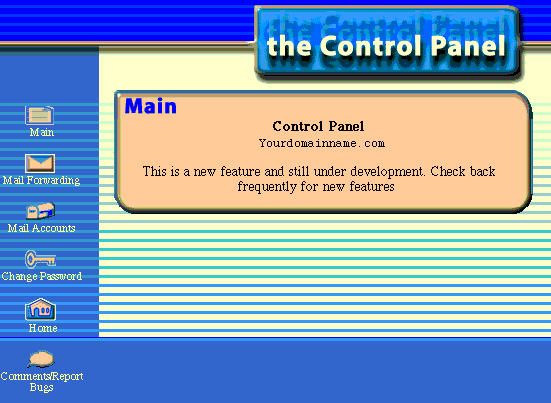
enter your username and password you will come to the main
menu.
|

|
This
browser based control panel eliminates the need to email
tech support for mailbox configuration and the time delay
inherent in that procedure.
It
also eliminates your need to FTP to your .domains file and
make edits there.
Don't
be mislead by the statement regarding the feature being
under development ... it's working.
If
your a first time user or even an experienced .domains file
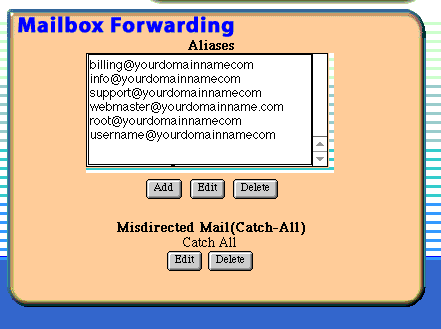
editor you will find that clicking the Mail Forwarding
button will take care of about 95% of your needs.
|
|
If
this is your first time here don't be alarmed by mailbox
aliases you see already installed by default. Mail addressed
to these aliases is delivered to your master mailbox, so
does your catchall.
Your
catchall looks for mail that is misaddressed and makes sure
it gets delivered.
To
add a new email address i.e. anything@yourdomain.com just
click the Add button .
To
edit or delete an alias that already exists, single click on
the alias to highlight it, then click the button of your
choice.
|

|
|

|
This
is the first box you see when you click the add
button.
Here
you get to decide what the email address will look like in
the anything part of our example:
anything@yourdomain.com
Make
your choice and click Continue
|
|

|
Three
choices are available at the next box. If this a new mailbox
you are creating, select the button New Pop Account. The
control panel will select the next available userID
If
you know of an existing userID you want this delivered to,
select the button Existing Pop Account and choose it from
the pull down menu.
Or
you can have the mail forwarded to any working email address
by selecting the button Forward Address and typing it in the
empty field. Make your choice and click submit. You can
forward to multiple addresses or userID's by listing them in
the field with a comma separating them. However you can't
forward to more than 10 addresses on one forward list and
you shouldn't forward to someone who is forwarding to you or
you will cause a mail-loop in the computer. When you've
decided click Submit
|
|

|
Pick
a password and enter it twice. Get creative and use a
combination of lowercase letters and numbers at least six
characters long.
Click
on Submit Query next.
|
|
The
next box you come to doesn't say so but you've just created
a new email alias and userID and it's already been installed
in your .domains file and is on the job.
Basically
the whole point of this box is to show you the results of
your installation and give you a chance to change your mind
before you go.
If
you do have second thoughts then select one of the buttons,
make your choice or enter your forward if that's what your
doing and click Submit.
If
everything looks a-ok then click exit and have a nice email
day !
|

|
|